Installing the MonoCloud Next.js SDK
What you'll cover in this guide
- Sign up for a MonoCloud account
- Create and configure a new web application client in the MonoCloud Dashboard
- Create a new Next.js application
- Install and configure the MonoCloud Next.js SDK
Signing up and configuring MonoCloud
If you already have a MonoCloud account and have created a project in the MonoCloud Dashboard, you can jump to the next step.
Before adding the SDK to your application, you need to:
- Sign up for a MonoCloud account: It's free and takes only a minute.
- Create a client: On your MonoCloud Dashboard, click Add Clients and follow the prompts to create a Web Application client.
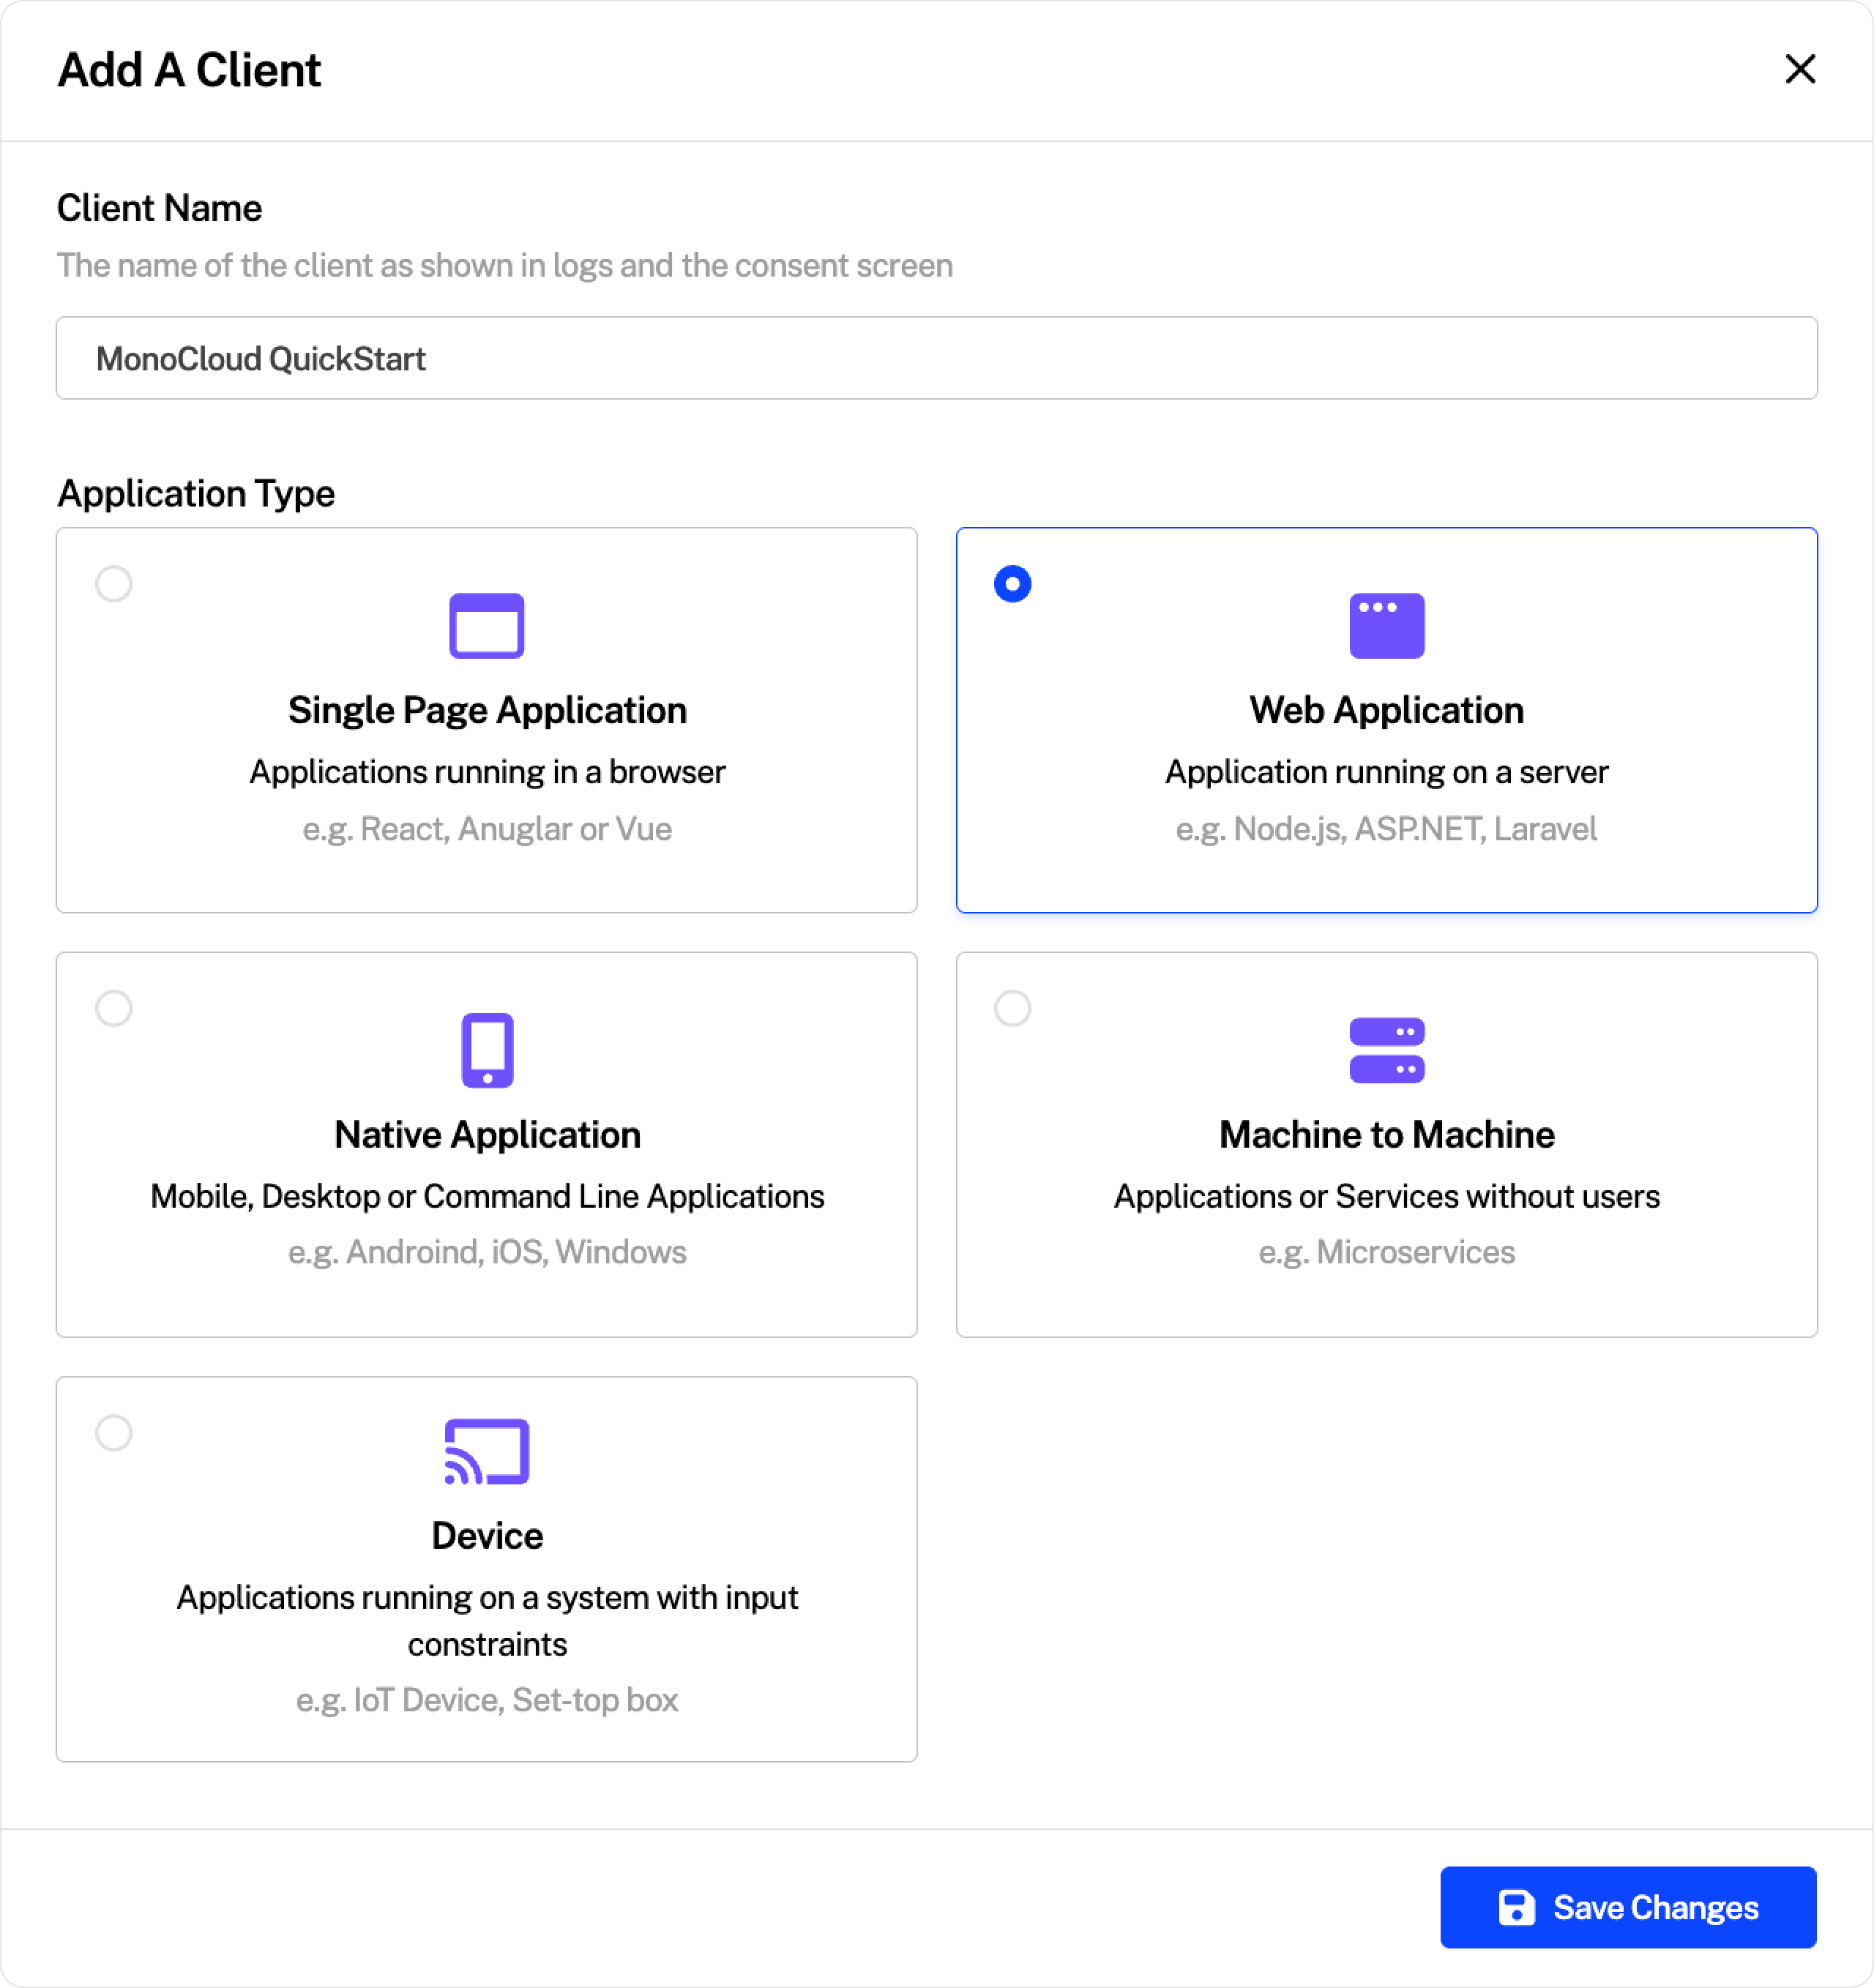
Each client represents an application that you want to secure with MonoCloud. For example, you might have one client for a web application, another for a mobile application, and a third for IoT devices.
Configuring your new client
On your new client's overview page, you'll see the client's configuration settings.
Before you can integrate your application with MonoCloud, you need to configure a few settings:
- Callback URIs: The address that MonoCloud sends users to after a successful login.
- Sign-out URIs: The address that MonoCloud sends users to after they've signed out.
- Scopes: The user information and resources your Next.js application will be able to access once a user is authenticated.
For local development, set the two URIs to:
- Callback URI: http://localhost:3000/api/auth/callback
- Sign-out URI: http://localhost:3000
For your production environment, set these URIs to their respective equivalents.
Under Allowed Scopes, select openid, profile, and email. You can add more scopes later, if needed.
Collecting the user's first and last name
In the authentication section on your dashboard, you can choose what user information to collect, the identifiers your users can use to sign in, the recovery methods, and more.
For now, we're going to collect the user's First name and Last name at the time of sign up.
In your MonoCloud Dashboard, click Authentication in the side nav, then scroll down to the Additional Information section and toggle the First Name and Last Name options.
Create a new Next.js project
If you don't have one already, create a new Next.js application.
Replace<your-app-name>with the name of your Next.js application.
In your terminal, create a new project by executing:
npx create-next-app@latest <your-app-name>
Install the MonoCloud Next.js SDK
Once your Next.js app is in place, you need to install the MonoCloud Next.js SDK.
- Navigate to the newly created project.
cd <your-app-name>
- Install the
@monocloud/nextjs-authSDK:
npm install @monocloud/nextjs-auth
Configure your client's environment variables
To integrate MonoCloud authentication in your Next.js app using the SDK, you'll need to set up some environment variables.
Create an .env.local file in your application's root directory and open your client's settings page in the MonoCloud Dashboard.
You'll find the first three values you need in the General Settings and Secrets sections on the client's setting page:
| Environment variable | Where to find the value in MonoCloud |
|---|---|
MONOCLOUD_AUTH_ISSUER | Tenant Domain from General Settings |
MONOCLOUD_AUTH_CLIENT_ID | Client ID from General Settings |
MONOCLOUD_AUTH_CLIENT_SECRET | The secret from the Secrets section |
MONOCLOUD_AUTH_SCOPES | Set to openid profile email |
MONOCLOUD_AUTH_APP_URL | In dev, set to http://localhost:3000 |
MONOCLOUD_AUTH_COOKIE_SECRET | Generate a secret key using your preferred method or run: openssl rand -hex 32 |
Next.js is now configured to use MonoCloud, and you're ready to add authentication to your application.